

 Proudly Canadian

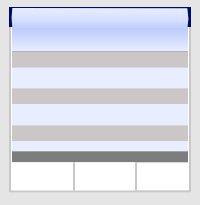
Inside mount
Clean, built-in look
Blind sits inside window frame. Shows your trim. Most popular.
- Use when frame is 2"+ deep
- Small 1/4" light gap is normal
 Canada's Best Window Blinds
Installation guide
Made for Canadian DIY. 95% of customers install themselves. Tools included? No, but you only need 3 things you already have.
10,000+ Homes Installed365-Day GuaranteeFree Help If Stuck: Call 1-833-711-4123
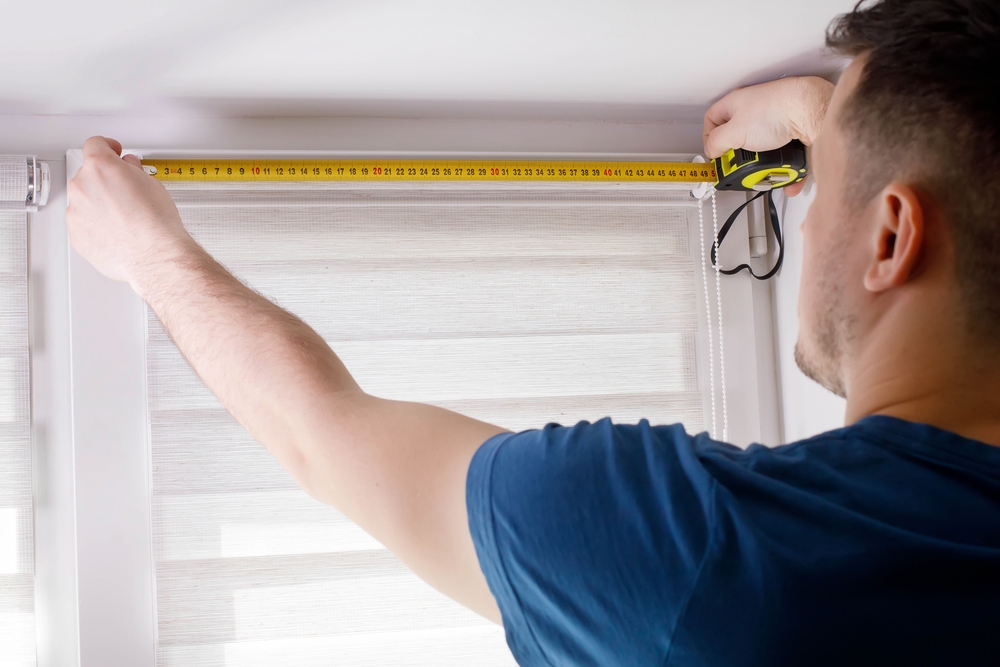
Open the box, then find three things in your house.
Cordless blinds are safest for kids and pets. We recommend cordless where possible.
No special tools. If you can hang a picture, you can do this.
Decide before you drill. Both work. Pick the look you want.
Same brackets for both
Inside mount
Blind sits inside window frame. Shows your trim. Most popular.
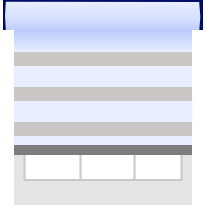
Outside mount
Blind sits on wall or trim. Covers frame. Best for blackout.
Works for ALL 4 types: Roller, Zebra, Honeycomb, Solar. Same brackets, same steps.
15 min / window
Hold your blind up to the window. Mark 2 inches from each end.
Use a pencil. Make tiny dots where brackets will go.
Pre-drill on your pencil marks. Drywall? Use included anchors.
Small pilot holes make screws go in easy.
Screw brackets tight. Quick level check.
Snug is good. Don't over-tighten.
Angle top rail into brackets until you hear CLICK. Pull down to lock.
Push up and back firmly. That click = secure.
Cordless? Skip this step! Corded? Screw safety tensioner to wall.
Keeps cords tight and safe for kids.
Raise and lower 3 times. You're done!
Smooth? Perfect. You're an installer now.
Pro tip: Have a friend hold the blind while you mark. Makes step 1 super fast.
Same install, tiny differences. Pick your blind type.
Fabric roll should face window for cleaner look
Chain is on the side you ordered at checkout
Fabric valance snaps on last - covers brackets
Quick fixes for the 4 things customers ask about most.
Loosen bracket screw 1/4 turn, tap bracket slightly, re-check with level, then tighten again. Takes 10 seconds.
Free help · Real humans in Canada
Free help by phone, chat, or email. If you ordered 3+ blinds 35"x35" or bigger, we include free pro install anywhere in Canada.
We answer in under 2 minutes Mon-Sat, 9am-6pm ET. Video guide coming soon.
Safety: Keep cords away from kids. Use cordless where possible. If you have corded blinds, always use the safety tensioner and keep cords out of reach.
Free pro install: Included for 3+ blinds 35"x35" or bigger, Canadian wide. We coordinate a local installer near you.