Sale on Now! Hush Motor Upgrade - Save 50%! - Ends in
22DAYS:18HRS:23MIN:28SEC
Free Samples
WindowBlinds.ca
Proudly Canadian
Canada's Best Window Blinds

Measurement guide

How to measure for window blinds

Made for Canadian DIY. 95% measure right the first time. Only 2 minutes per window.

10,000+ Homes Measured365-Day Free Returns If WrongFree Help If Stuck: Call 1-833-711-4123

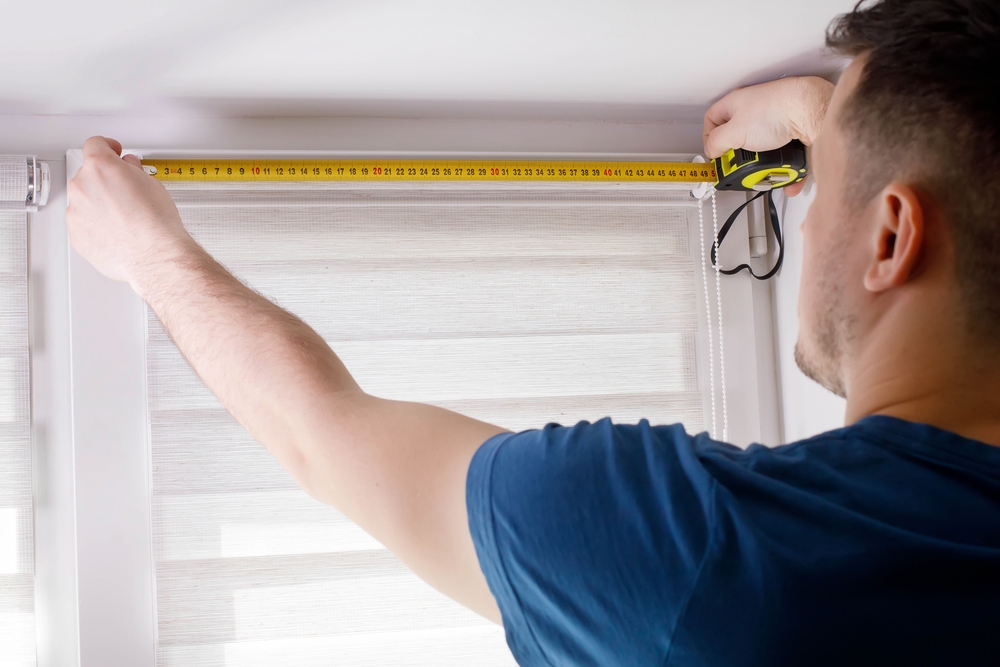
A person holding a tape measure across the top of a window
2 min
per window

Average time for first-timers

1
tool needed

Metal tape measure

3
steps

Choose, width, height

0
deductions

We do it for you

Tools you need

Nothing special. If you have these three, you're ready.

Metal tape measureNot cloth - cloth stretches. Metal is accurate to 1/8".
Pen + paperWrite as Width x Height. Example: 34 1/4" x 64".
PhoneTake a photo of the window. Helpful if you call us.

Inside vs outside mount

Pick one before you measure. Everything below follows from this.

Same tape, different numbers

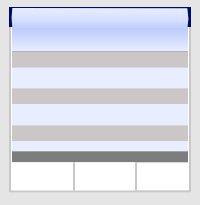
Blind mounted inside the window frame, with the trim visible around it

Inside mount

Recommended

Clean, built-in look

  • Needs 2" depth inside the frame to mount flush - 3/4" minimum to mount at all
  • Small light gap is normal, about 1/4" total. Factory deducts for smooth operation
  • Shows your trim. Most popular in Canada

Best for: Living rooms, kitchens, any window with a deep enough frame
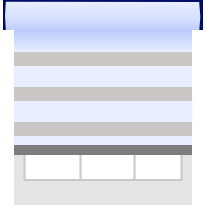
Blind mounted outside the window frame, overlapping the trim

Outside mount

Bigger look, blackout

Covers the trim

  • Covers trim. Makes the window look larger
  • No side gaps. Best for max blackout and privacy
  • Mounts on wall or trim above the window. No depth needed

Best for: Shallow frames, blackout bedrooms, patio doors, covering trim you don’t love

3 steps, start to finish

Choose your mount, then measure width, then height.

2 min / window

  1. Choose inside or outside

    This is the only decision. Everything else is just numbers.

    Is your window frame 2" deep or more?

    Yes

    Inside mount

    Clean, built-in look. Most Canadians choose this.

    No

    Outside mount

    You don’t have the depth. Outside works on any window.

    Want max blackout? Choose outside mount even if you have the depth - zero light gaps.

    Quick check: stick your finger in the frame. If your knuckle disappears (about 2"), you have the depth.

  2. Measure width

    Same tape, different spot depending on your mount.

    Inside mount width

    1. Measure inside the frame at the top, middle, and bottom
    2. Circle the smallest number - that’s it
    3. Don’t deduct. The factory deducts 1/4" automatically

    Order widthsmallest measurement

    +1"-2"+1"-2"

    Outside mount width

    1. Measure the width you want to cover
    2. Add 2" to 4" total - 1" to 2" each side
    3. That total is your ordering width

    Order widthcoverage + 2" to 4"

  3. Measure height

    Left, middle, right - same idea, turned sideways.

    Inside mount height

    1. Measure left, middle, and right inside the frame
    2. Use the longest number
    3. That’s your ordering height

    Order heightlongest measurement

    +3"-4" above

    Outside mount height

    1. Measure the height you want to cover
    2. Add 3" to 4" above for mounting
    3. That total is your ordering height

    Order heightcoverage + 3" to 4"

Record as Width x Height. Example: 34 1/4" W x 64" H - width first, always.

Zebra shades - read this: Fabric will be 7/8" narrower than ordered width due to mechanism & brackets. This is normal. Light gap on sides is by design for smooth operation. If you need edge-to-edge blackout, order Outside mount + 4" wider.

Pro tips

  • Measure every window, even if they look the same. Houses settle - 1/4" variance is common.
  • Metal tape only. Don’t use cloth, a ruler, or a phone app. Steel tape, 1/8" precision.
  • Measure twice. Once fast, once slow. If they match, you’re good.
  • Write Width x Height, not Height x Width. The factory reads the first number as width.
  • Don’t overthink deductions. Order the exact frame size for inside mount - we deduct 1/4" for you.

Common mistakes to avoid

  • Deducting yourself - We already deduct 1/4" for inside mount. Deduct too and it’ll be too small.
  • Measuring trim to trim - Inside means inside the frame, not the outside trim. Feel for the inside edge.
  • Using one window for all - Every opening is slightly different. Two extra minutes saves a return.
  • Rounding down - Order to the nearest 1/8" - not 1/2", not the nearest inch. Precision matters.
  • Forgetting depth - Less than 3/4"? Inside won’t mount. Switch to outside.

Safety: Use a stable step stool. Don’t lean out windows. Metal tape can snap back - keep your face clear when extending it. Keep kids and pets clear while measuring. If a window is high or awkward, call us and we’ll guide you live.

Quick order checklist

Width___ ___⁄16"
Height___ ___⁄16"
Mount[  ] Inside   [  ] Outside

Example: 35 3/8" x 64" - Inside

Free help · Real humans in Canada

Still stuck? We'll walk you through. Live.

Free help. No robot. If you measure wrong we remake at 50% off. 365-day free returns if wrong - we mean it. Canadian team, 9am-6pm EST.

Next

How to Install Window Blinds

Measured right? Install takes 15 minutes per window. Same Canadian DIY style, no drill drama.

View install guide